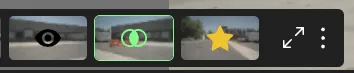
The camera drawer
The camera drawer is available in tasks with multiple camera sources. Users can use it to observe or annotate objects. You can step through the sources in both the maximized and minimized states.
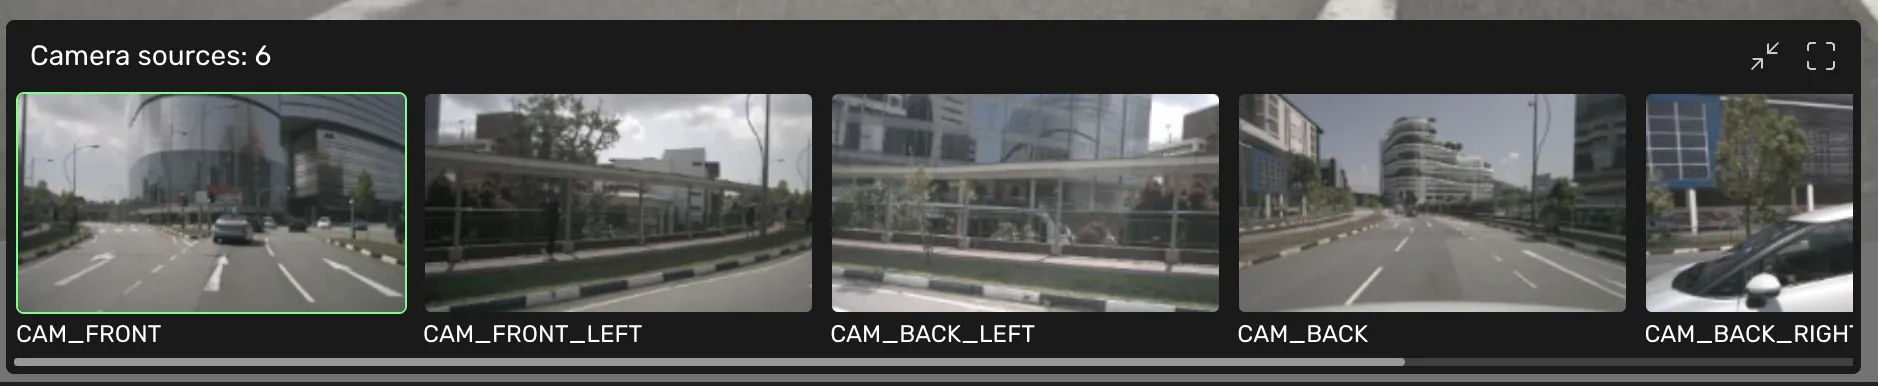
In the 3D view, you can select between these camera drawer behaviors by opening the More menu (represented by three dots).
- Auto-switch: object camera visibility - automatically switches to the camera where the selected 3D object (or control point) has the best visibility.
- Auto-switch: cursor position - automatically switches camera based on mouse position in the 3D main view.
- Manual switch

The drawer will maximize when you first enter a task. This lets you know if there's more than one source to consider when annotating or reviewing.
There are two options for the minimized camera drawer: Field of view and Miniature. You can select one or the other in the More menu (the three dots).
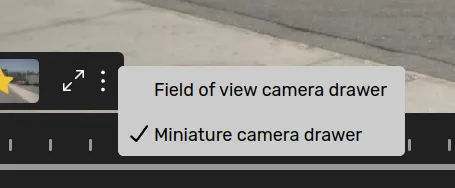
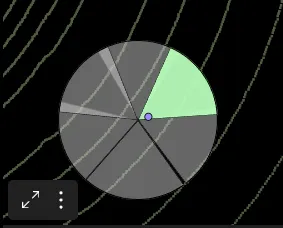
Field of view camera drawer (3D view only)
This mode will visualize the apparent field of each camera and highlight the selected one in green. The fields are interactive - click to switch camera.
The top of the circle typically represents the forward direction of the ego vehicle, but depending on the client's data, this may not always be the case.
The purple dot indicates the location of the selected 3D cuboid, meaning that if you select a different type of geometry, the dot will not be visible.
Miniature camera drawer
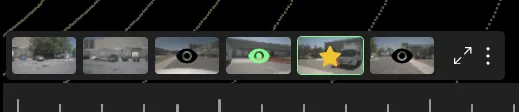
The miniature camera drawer is a smaller version of the regular camera drawer, freeing up space in the drawing area.
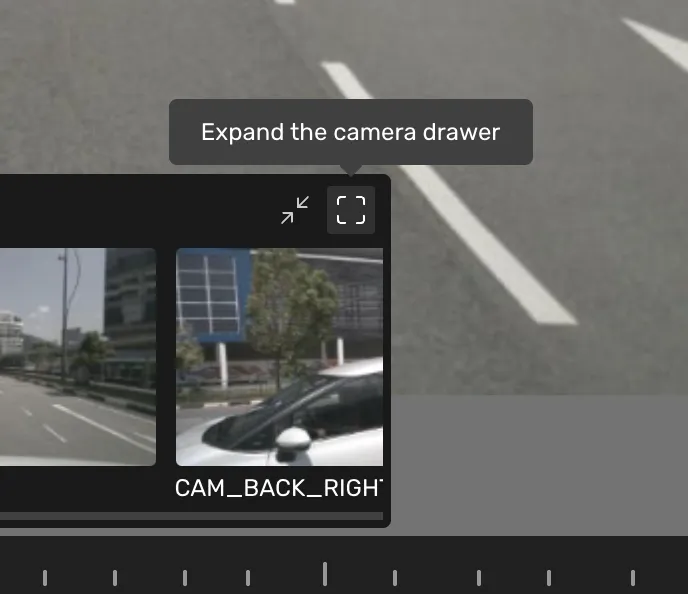
Open the Expanded view to see all your camera sources at once. It expands the drawer into a grid that fills the drawing area, displaying each camera as large as the space allows, while the video bar, sidebar, and top bar remain in place. Click the close button to return to the normal drawer.
Layout
Cameras are arranged automatically:
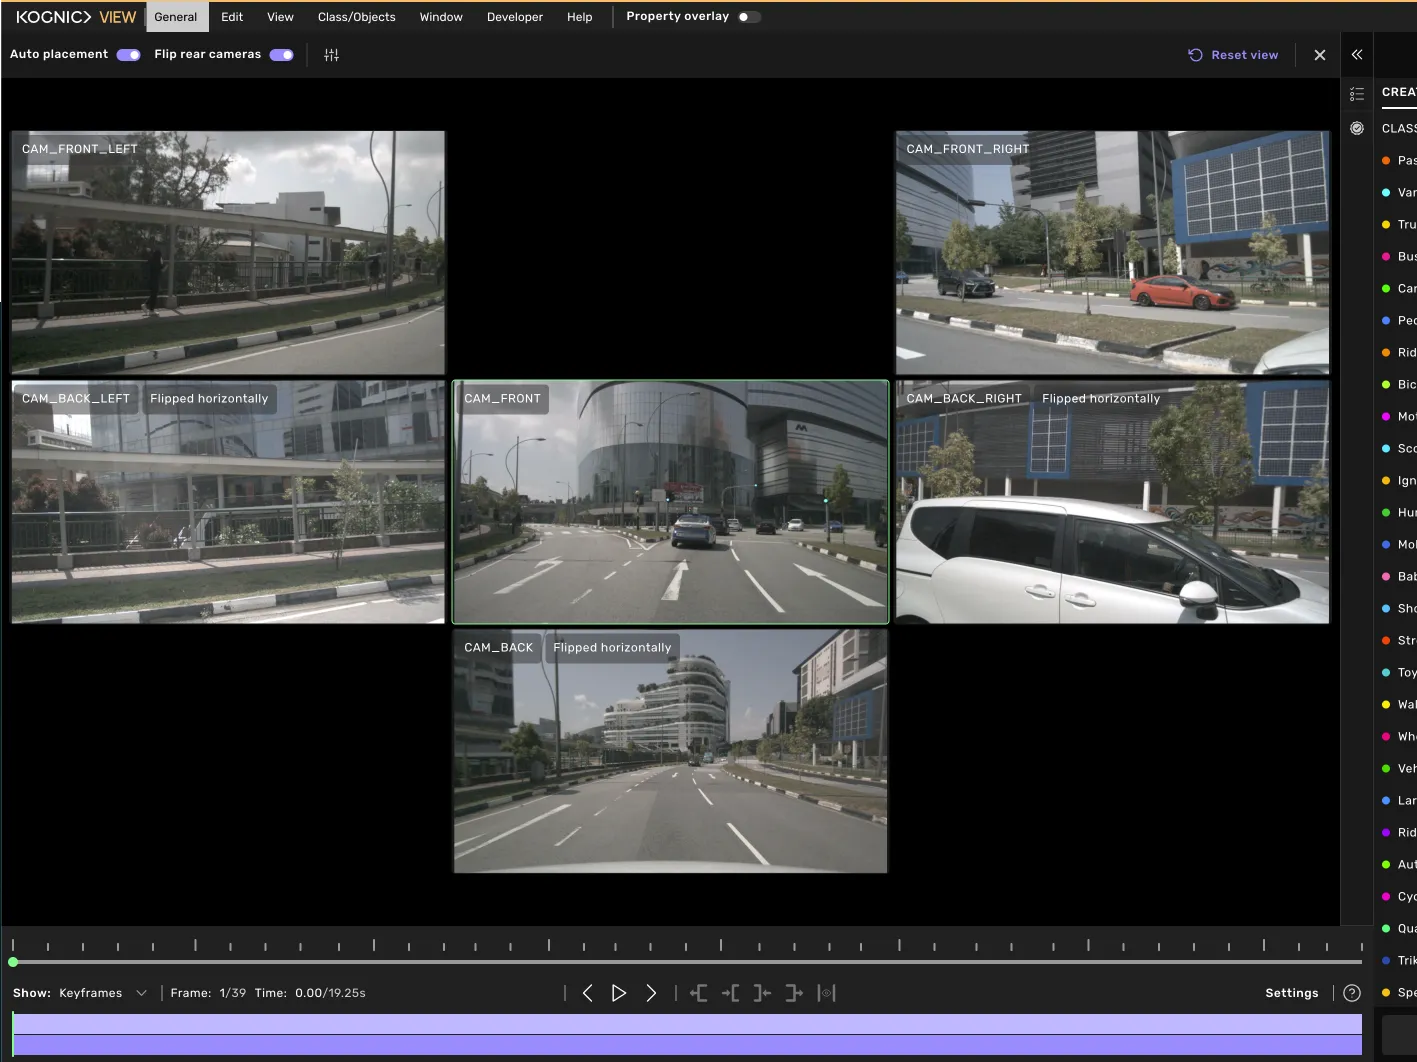
- Auto placement - arranges cameras to match their real-world directions: the front camera in the middle, side, and rear cameras around it. Available with calibration, a minimum of 5 cameras, and a maximum of 9 cameras.
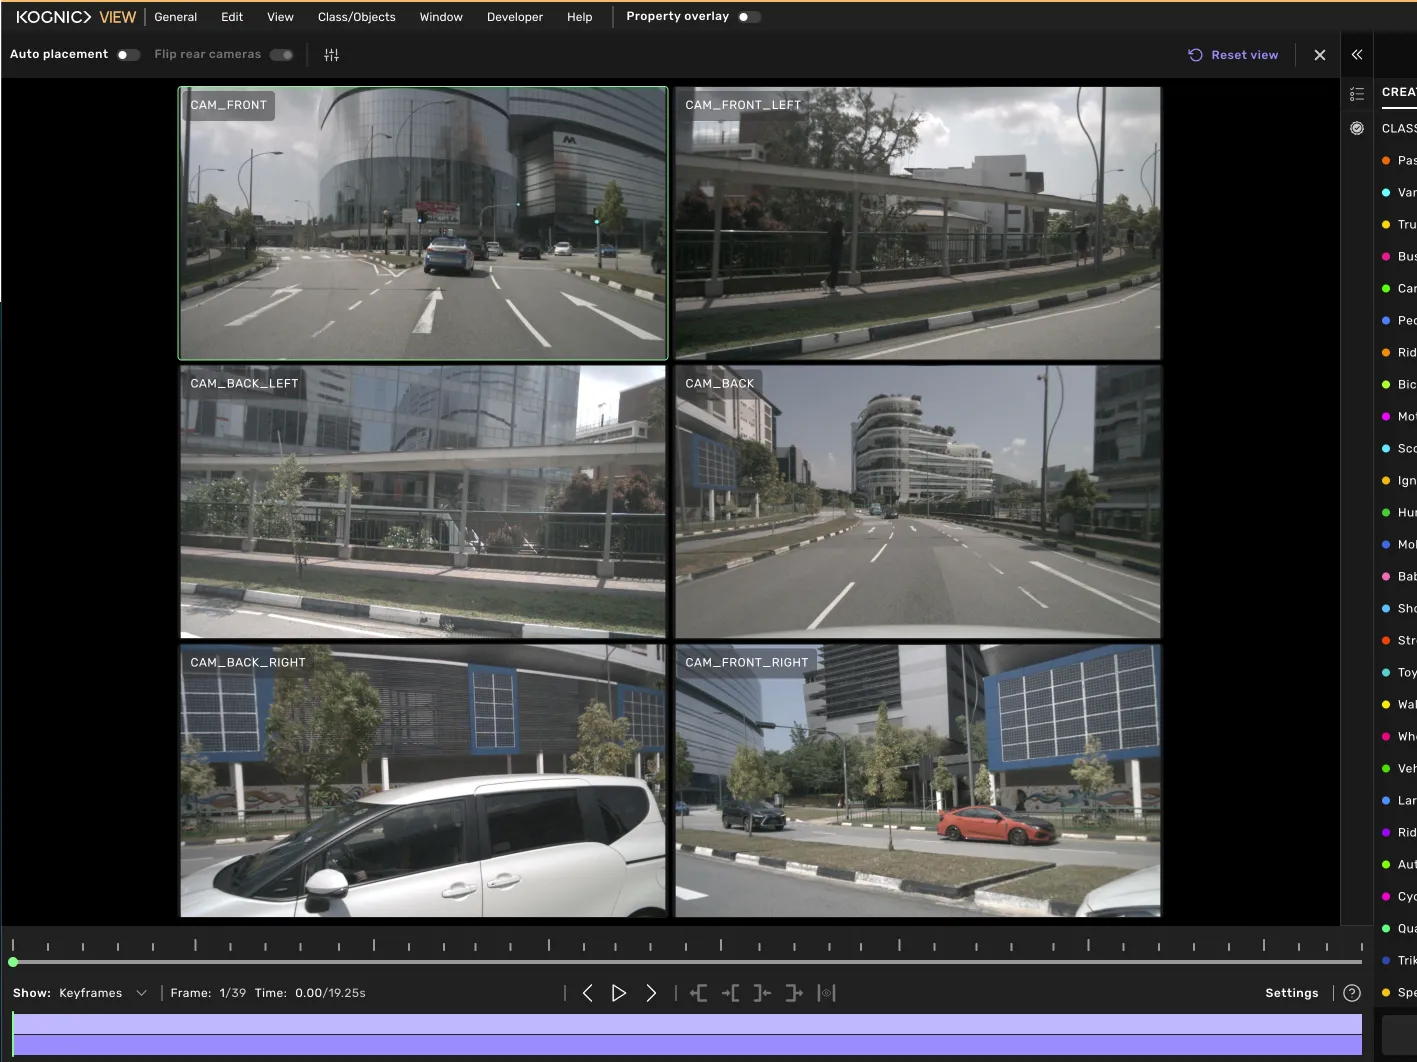
- Otherwise, cameras are packed into a grid that keeps each image as large as possible.
Top bar options
- Auto placement — position cameras according to their real-world directions. Disabled without calibration or with fewer than 5 cameras, and more than 9 cameras.
- Flip rear cameras — mirror away-facing cameras like a rearview mirror. Available only with Auto placement on.
- Image settings — adjust image settings (such as brightness) across the cameras.
- Reset view — reset the zoom and position of every camera.
You can zoom and pan each camera individually; Reset view clears them all at once.
Different icons can be attached to each source.
- The Eye indicates that the object is visible in the source.
Green indicates that it's visible in the current frame, while black indicates that it's visible at some point in the sequence.
- The Unify icon indicates that the object has been annotated in both 2D and 3D in the camera source.
Green indicates that it's visible in the current frame, while black indicates that it's visible at some point in the sequence.
- The Star indicates which source the object is most visible in.
The icon is always yellow.