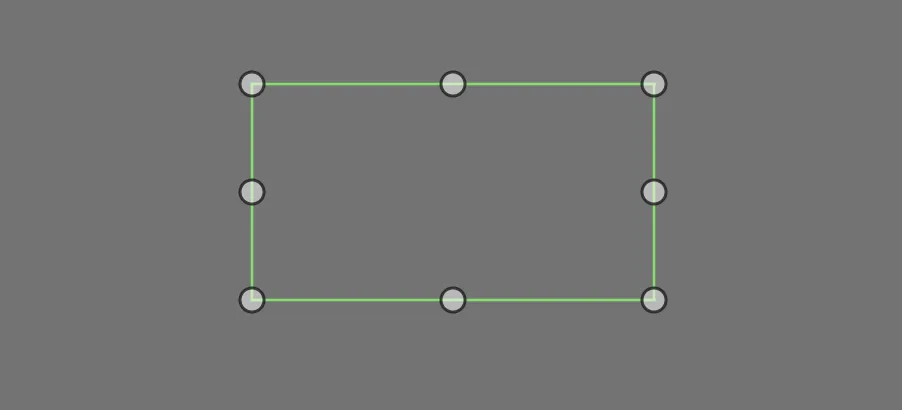
2D bounding boxes

This geometry shape is drawn using the bounding box tool. The tool is used to mark the extreme points of objects such as vehicles, animals and pedestrians.
Drawing process
Select a class
Place a point at the object's highest, lowest, rightmost, and leftmost point
After placing the last point, a bounding box should appear

Drawing process with auto complete
If we can predict a bounding box at the target location, it will appear when you mouse over the object. If it is a bad prediction, you can simply press escape to hide and ignore it.
Select a class
Hover the mouse over the target object, a prediction will appear
Press tab to quickly accept the prediction

Translate (change position)
Press anywhere inside the box to move it to another place.

Scale
You can edit the size of the box by dragging the corner control points or anywhere on the edges of the box.


Some tasks ask you to mark a line on the bounding box — for example to indicate a horizon, a ground contact line, or a split between two regions of the object. When a class is configured for this, the Reference Line tool becomes available, and the line you draw is stored as a property of the box.
A reference line always belongs to a bounding box and runs across the whole box, either vertically or horizontally. The orientation is fixed by the task — you place the line, you do not choose its direction.
Select the box you want to add the reference line to
Under property markings on the expanded object entry in the right-side menu select Reference Line to activate the tool
Click inside the box to place the line
To adjust it, drag the line along its axis: a vertical line moves left and right, a horizontal line moves up and down. The line stays within the box.
- Enable the shortcut mode by pressing ctrl arrow-up
- shift ctrl for Mac
- When one side turns green, edit the side using the arrow keys
- Switch side by holding ctrl and pressing the arrow-keys

The sides will by default move one pixel, hold shift to move it five pixels at a time.