Steps: Stationary objects
Step 1
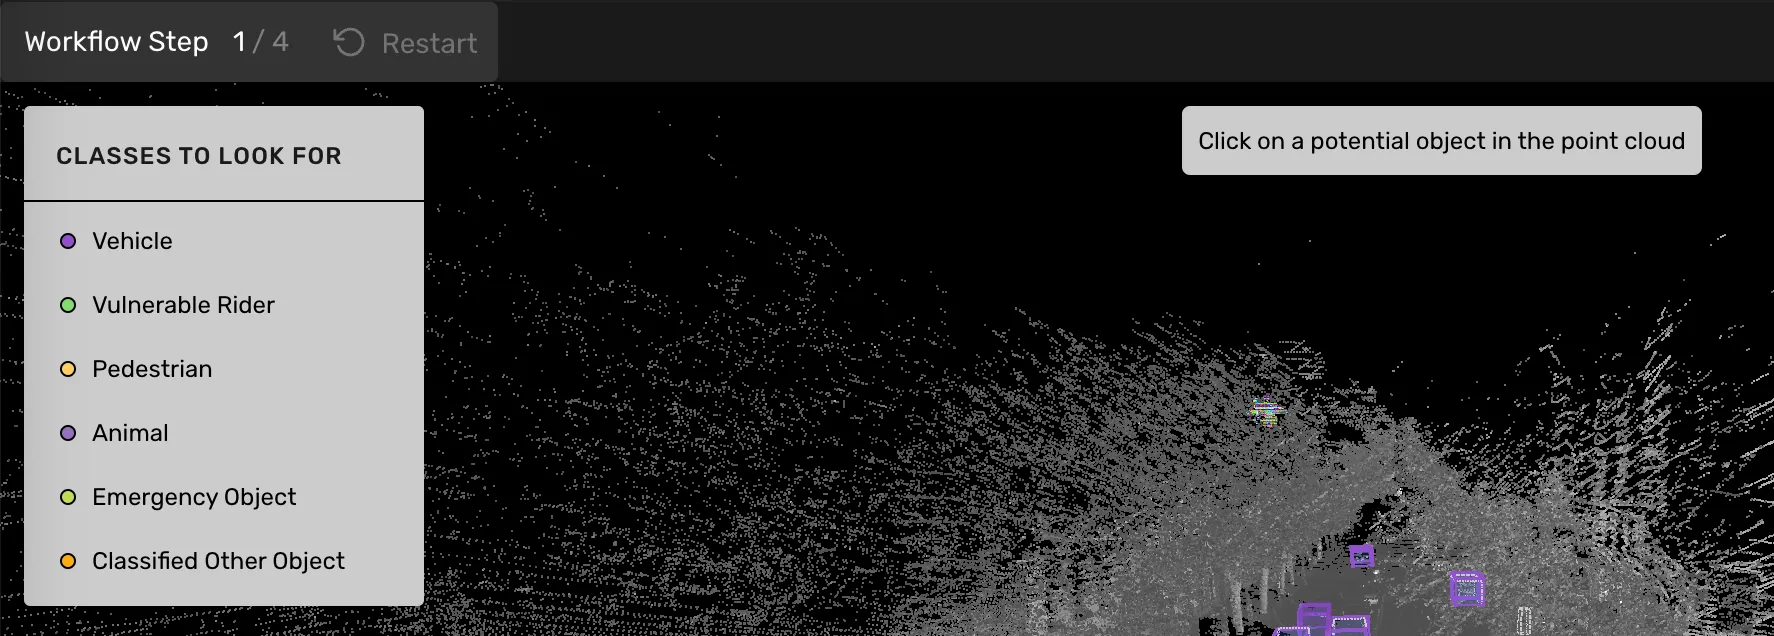
Find a stationary object.
The class list is there to help you remember what to look for; it is not interactive.
Click on the object you wish to annotate.
Step 2
Now you're viewing the frame in which the object is most visible.
Select a class
Draw a shape.
Press Enter

Step 3
Edit the shape (size, rotation or placement)
Set properties (if available)
Press Enter
If you're working on a 2D/ 3D fusion task, you will be taken to step 4, where you can edit the 2D shape.
If you're not working on a fusion task, the object will be marked as complete.

Step 4
After step 3, a 2D bounding box was automatically generated. In step 4 you will follow it throughout the sequence, one camera source at a time.

Set properties, edit the box size and placement, or mark as not visible until you have reached 100 % progress.
Step through the sequence by pressing enter.
When all camera sources have been annotated, you will be sent back to step 1 to find and annotate a new object.
Leaving the Guided Workflow
If you believe all stationary objects have been found (and annotated), you can click "done with stationary objects" in the top right corner.

Activate the Guided Workflow
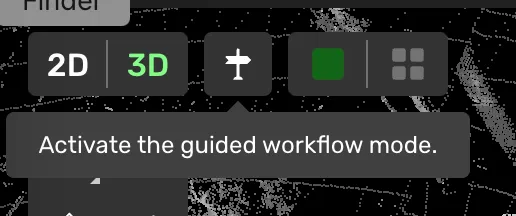
If you discovered a new stationary object you can activate the workflow again by pressing the sign-icon in the top left corner (in the main view). This will take you back to the first step in the workflow.
Related content
Read about the Requirements to setu p a project using the Guided Workflow
Read about our Upcoming changes to the workflow