Integrations
On this page users can create and manage their data integrations. It is possible to set up data integrations with your cloud buckets, which allows you to import data (scenes and pre-annotations) to the Kognic Platform without having to upload it from your local machine. After setting up a data integration, it is possible to use Kognic IO to import data from the specified bucket.
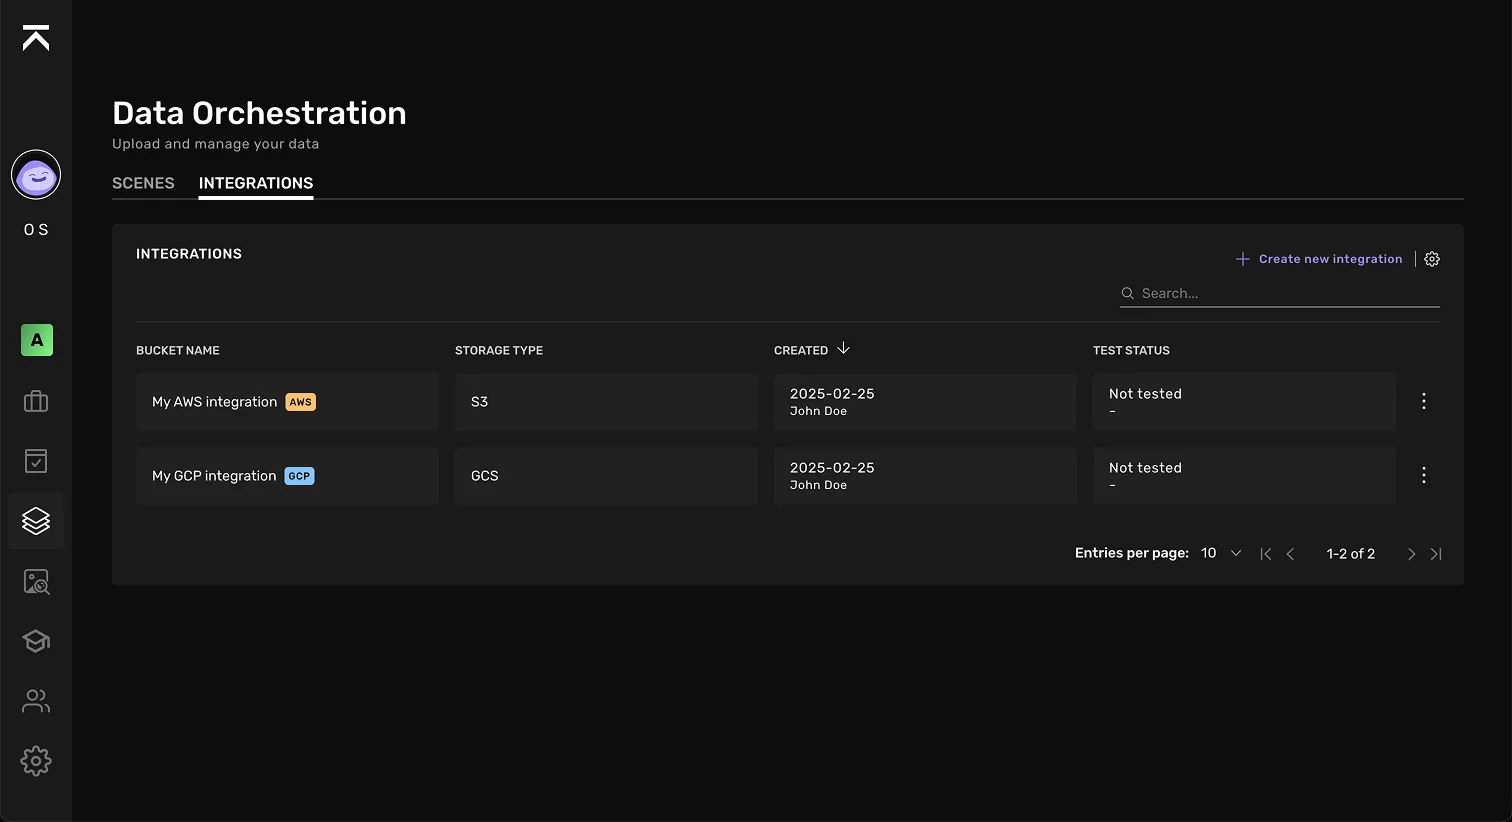
Supported cloud storage providers
Right now it is possible to set up data integrations with the following cloud storage providers:
- Google Cloud Platform (GCS)
- Amazon Web Services (S3)
- Microsoft Azure (Blob Storage)
If you are using a different cloud provider that you would like to set up a data integration with, reach out to your Kognic contact.
Create a new integation
To set up a new integration, click on Create new integration. Follow the steps below depending on which cloud provider you will set up the integration with.
Note that the guides below walk you through the process of giving Kognic read access to one of your cloud buckets.
Google Cloud Platform (GCS)
Choose cloud provider
Select the option Google Cloud Platform.
Provide Bucket information
In GCP, navigate to the bucket you want to integrate with. Copy the bucket’s name and paste it in the Name field.
Grant service account access
In the Kognic Platform, copy the Kognic service account UID/email. In GCP, within the bucket’s Permission tab, click Grant Access and paste the service account's credential as a New Principal and assign the role Storage Object Viewer.
Finalize setup
In Kognic, click Create integration in the bottom right corner.
Amazon Web Services (S3)
Choose cloud provider
Select the option Amazon Web Services.
Provide Bucket information
In this step you need to provide the name and AWS region of the bucket you will integrate with.
a) Specify bucket name
In AWS, navigate to the bucket you want to integrate with. Copy the bucket’s name and paste it in the Name field in Kognic.
b) Specify AWS region
For the same bucket, specify it’s AWS region, e.g. eu-north-1, in the AWS region field in Kognic.
Create a role for Kognic in AWS
Next, you need to set up a Role for Kognic in AWS and give it S3 read access to your bucket.
a) Create a new role in AWS
In AWS, navigate to Identity and Access Management (IAM), select Roles and click on Create role. For Trusted entity type select Custom trust policy.
Copy the Trust policy from the Kognic Platform, go back to AWS and paste it in the Custom trust policy section.
Click Next and skip the permissions step for now by clicking Next again. Give your role a descriptive name and click the Create role button.
b) Specify the Role ARN
In AWS, click on the role you just created and copy the Amazon Resource Name (ARN). Paste it in the Role ARN field in Kognic.
c) Give the role S3 read access
In AWS, for the role that you just created, scroll down to the Permission policies section and click on Add permissions followed by Create inline policy.
Copy the Inline policy from the Kognic Platform, head back to AWS and in the policy editor, click on JSON and paste the policy.
Click on next, give the policy a name and click Create Policy.
Finalize setup
In Kognic, click Create integration in the bottom right corner.
Microsoft Azure (Blob Storage)
Choose cloud provider Select Microsoft Azure
Provide Bucket (Container) information
In this step you need to provide the name of the Storage Account and the storage Container you will integrate with.
a) Specify storage account
In Azure, navigate to Storage center / Blob Storage and find the Storage Account holding the data you want to give access to. Copy its name and paste it here.
b) Specify Container name
Within the storage account, find the container and and copy its name here.
Set up Federated Access in Azure
- In Azure, navigate to Microsoft Entra ID, and create an App Registration. Leave the supported account types on the single-tenant default. No redirect URI is needed as Kognic never signs in through a browser.
- From the App Registration's details, copy the Directory (tenant) ID and Application (client) ID into the Kognic platform.
- Add a federated credential. Kognic will authenticate against Azure from a Google Cloud Platform identity. From the app registration, open Certificates & Secrets, and add a federated credential. For the scenario, choose Other issuer. Paste in the values provided by the Kognic platform (issuer, audience and subject identifier).
- Grant read and blob delegation access
- Read: Allows us to read the content of the container
- Storage Delegation: Note this is a Storage-account-wide permission. It allows us to mint User Delegation Shared Access Signatures (UD SAS) which allows us to internally delegate storage access within our back-end services without routing raw byte streams between services.
Test your integation
When an integration has been created you can test if it works by following the steps below:
Find the integration you want to test
In the Kognic Platform, locate the integration you want to test in the Integrations-table. Click on the three dots next to it and in the subsequent context menu click Run a test...
Find and copy an object's URI
In GCP:
Navigate to the bucket and open it. Next to any folder of file, click the three dots and in the subsequent context menu click Copy gsutil URI.
In AWS:
Navigate to the bucket and open it. Click on a file to open it and then click on Copy S3 URI.
In Azure:
Navigate into the Container and find a file. Copy its URL, which should be of the form
https://storageaccount.blob.core.windows.net/container/path/to/file.txt
Run integration test
Go back to the Kognic Platform and paste the object URI into the "URI" field in the dialog window. Click Test integration.
If test was successful, you will get a success message and can click on OK, I got it!. The Test status value will change to "Successful" in the table.
If the test fails you an notification will appear with an error message that you can use for debugging.
Use your integation
Now you're all set up to start creating scenes using external resources. Read more about how to this in our API guide.